Requirements
The following describes the system and licensing requirements for the use of iDynamics
System requirements
iDynamics runs directly on Microsoft Dynamics 365 Business Cenral, so the system requirements are those established by Microsoft: docs.microsoft.com.
Licesing requirements
In order to use iDynamics, it is necessary to acquire the rights of use by means of an access license. iDynamics offers two licensing models:
- Perpetual: Acquisition of the rights of use for a certain version of the app with the possibility of subscribing a maintenance that grants benefits described in the terms of use. This licensing model is applicable to Dynamics NAV.
- Subscription: Subscription of the rights of use, through periodic fee, which includes the benefits of the app maintenance. Available for Dynamics 365 Business Central and Dynamics NAV.
For more information, see the terms of use at the following page: Términos de uso
Regarding the licensing of Microsoft Dynamics 365 Business Central, each functionality of iDynamics may require a type of access (Full Users, Additional Users) or a functionality (Essentials, Premium, Team Members) different.
iDynamics installation
In order for an iDynamics functinality to be available in Microsoft Dynamics 365 Business Central, two steps must be carried out: Publish and Install.
Publish: Load the objects into the database.
Install: Activates the objects (previously publish) so that are available and can be used. In multi-tenant environment, the installation is carried out independently for each of them.
Depending on whether the version of Microsoft Dynamics 365 Business Central is On Premise or Saas these processes will be different. There are detailed below:
Installation in Microsoft Dynamics 365 Business Central SaaS
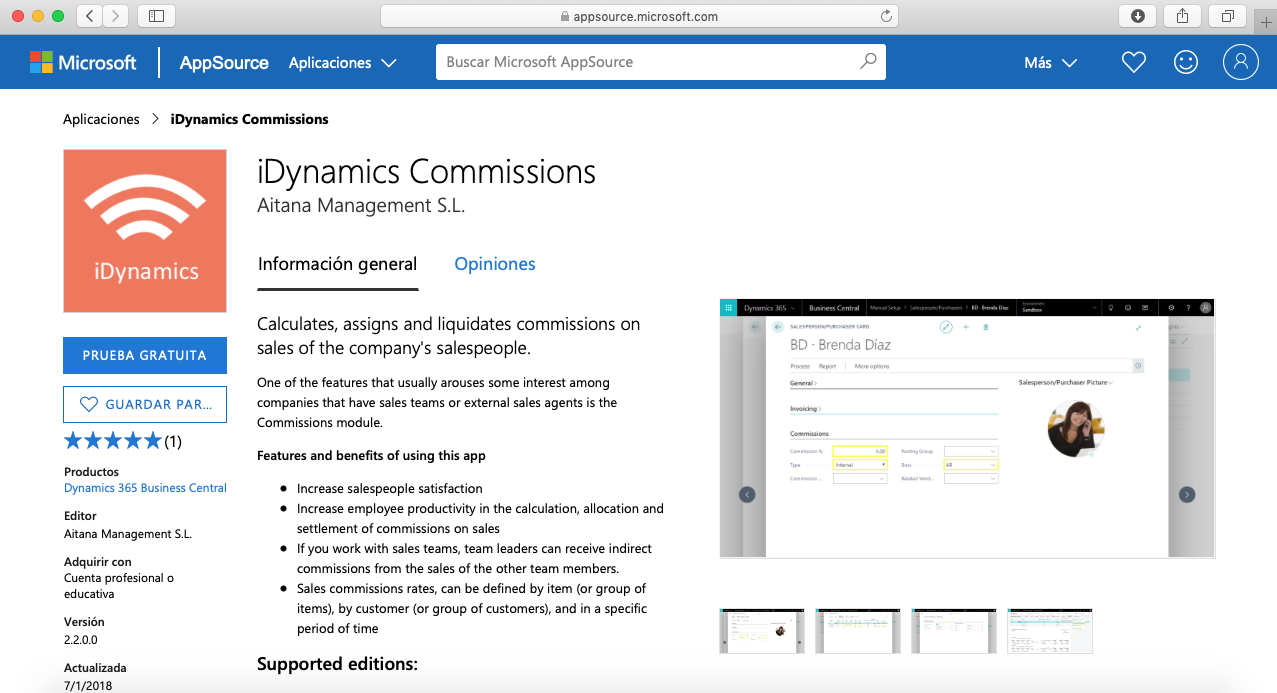
The installation of iDynamics apps in Microsoft Dynamics 365 Business Central SaaS, is done from AppSource de Microsoft.
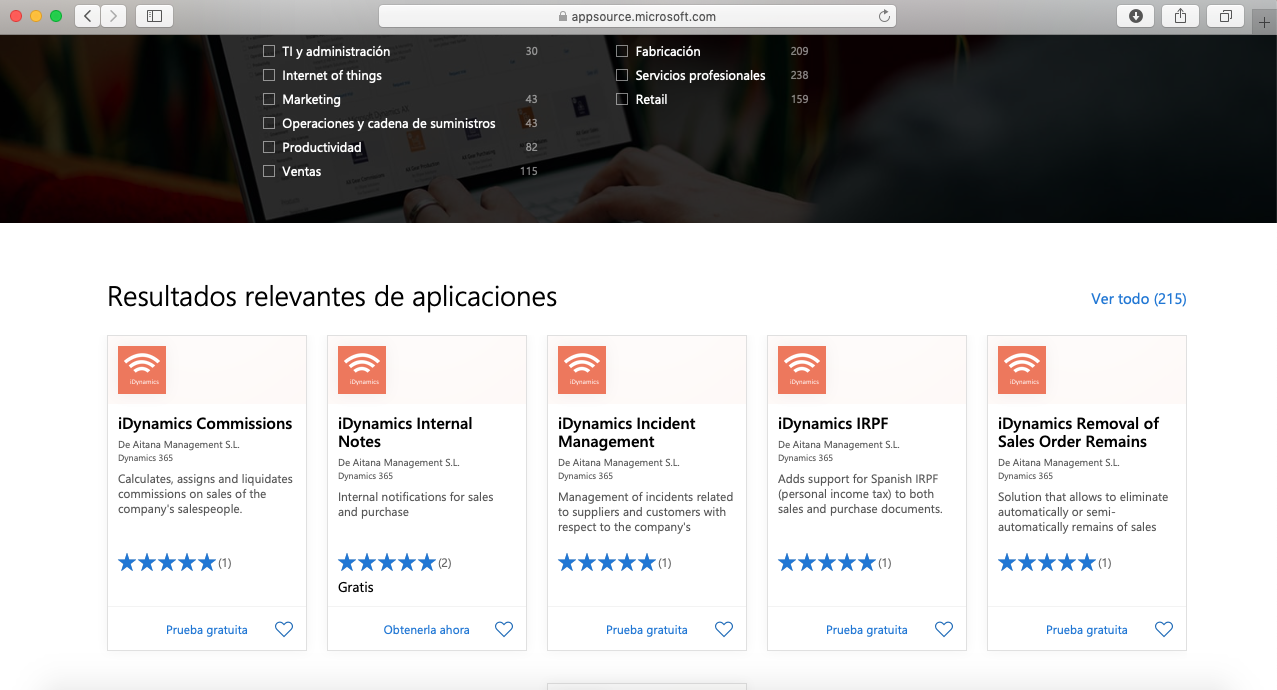
From the product sheet click on "FREE TRIAL". Once you accept the terms of use and the privacy policy, if you have more than one environment, we will ask in which environment you want to install.
Installation in Microsoft Dynamics 365 Business Central On Premise
In order to install any iDynamics extension in Microsoft Dynamics 365 Business Central on Premise it is essential to have previously installed the License Management extension.
Publication
The publication will be done using PowerShell from the server of Microsoft Dynamics 365 Business Central by following these steps:
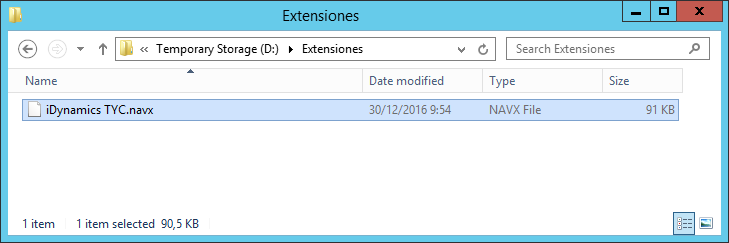
Copy to a temporary folder of the server the file of the application (*.app)
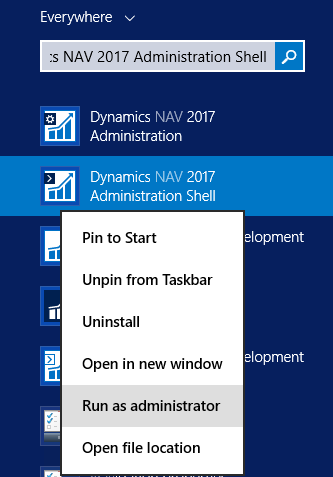
Open the Microsoft Dynamics 365 Business Central On Premise management mandate console with administrator's permissions:
Execute the following terms of reference:
Publish-NAVApp -Path [$NavxFileName] -ServerInstance [$ServerInstance]
For instance:

Azure SQL Database Publication (Extensions v1.0)
The process of publishing an extension requires a temporary database on which the merge and recompiling of objects is done internally. When this task is performed on a Microsoft SQL server, the publishing mandate itself (Publish-NAVApp) is responsible for creating and removing this temporary database and is therefore performed without us noticing. However, when our NAV database is hosted in Azure's SQL service and the extension is v1.0, it is necessary that we create this database beforehand and indicate it to the pusblishing mandate.
In this case execute the following mandate:
Publish-NAVApp -Path [$NavxFileName] -ServerInstance [$ServerInstance] -SandboxDatabaseServer [$SandboxDatabaseServer] -SandboxDatabaseName [$SandboxDatabaseName] -SandboxDatabaseCredentials (Get-Credential)
For instance:
Publish-NAVApp -Path 'F:\instalar\iDynamics Commerce.app' -ServerInstance NAV100_ADDON_AZURE -SandboxDatabaseServer sqlsrv-idynamics.database.windows.net -SandboxDatabaseName NAV100_ADDON_SANDBOX -SandboxDatabaseCredentials (Get-Credential)
Warning
The temporary database (sandbox), must be a copy of the actual database at the time of installation of the extension. The copy can be made directly from the Azure control panel.
Installation
Once published, the extension can be activated or deactivated. This process can be carried out using PowerShell or through the Microsoft Dynamics 365 Business Central Customer
PowerShell (Microsoft Dynamics 365 Business Central On Premise):
Execute the following mandate through the command console of administration of Microsoft Dynamics 365 Business Central On Premise with administrator permits.
Install:
Install-NavApp -Name [$NavAppName] -ServerInstance [$ServerInstance]
For instance:

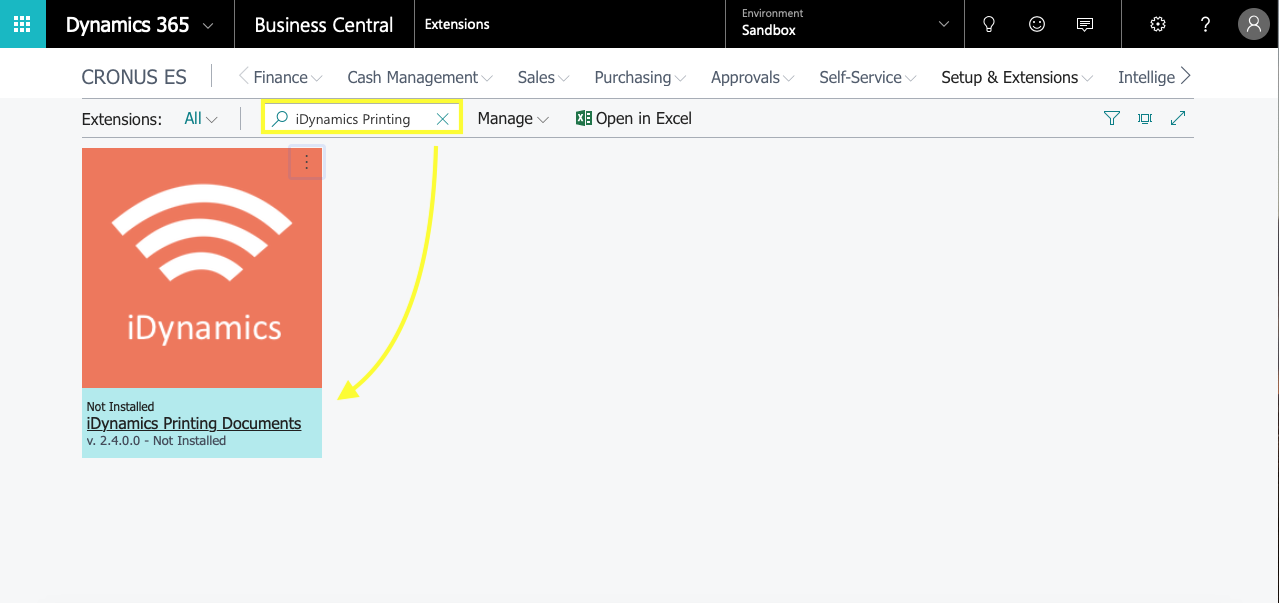
Microsoft Dynamics 365 Business Central Customer:
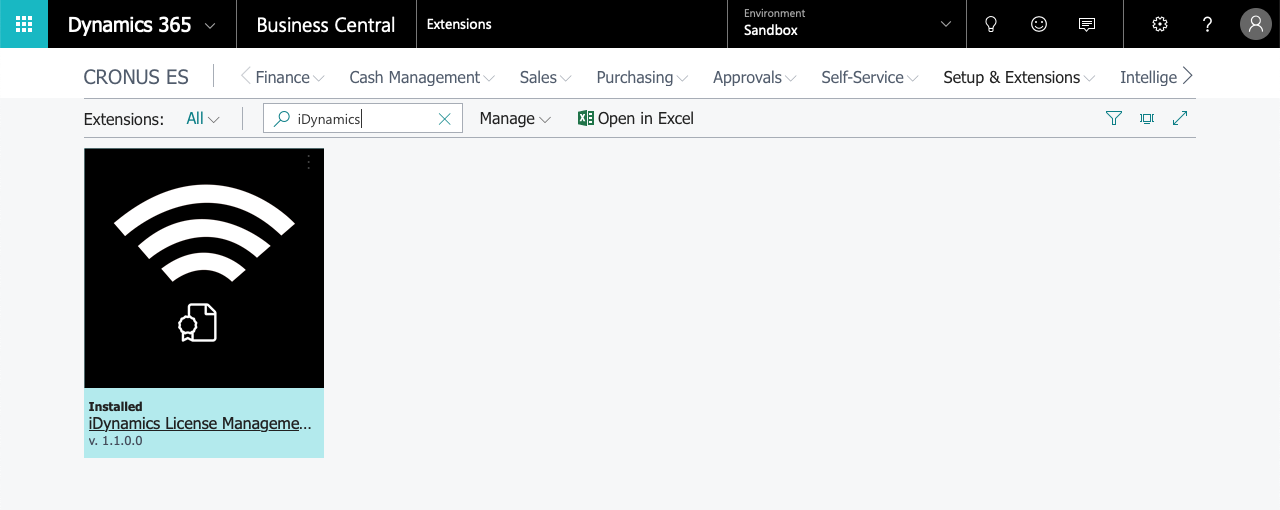
From "Setup and Extensions - Extensions", we can also install the applications searching in the search engine and filtering by: "iDynamics ExtensionName". Then by clicking on it we select install. We show an exampe; in this case the extension to install is iDynamics Printing Document.
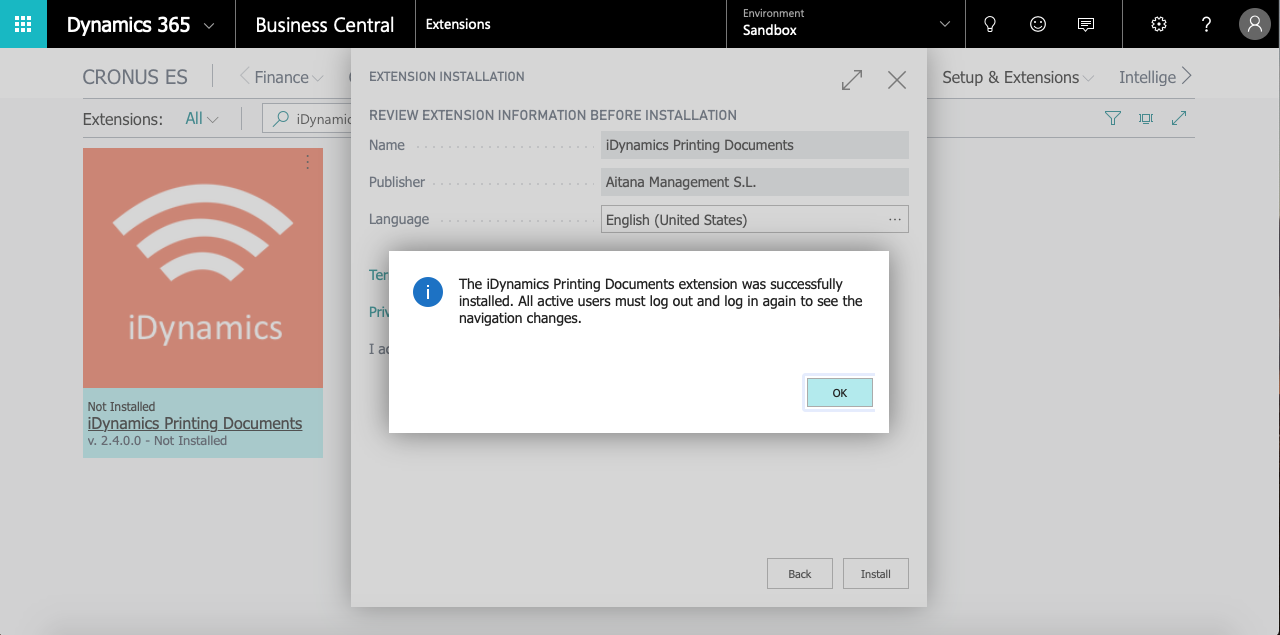
The following windows will appear, where accepting the terms and conditions that appear there, the extemsion will be installed and ready to use:
iDynamics Uninstallation
To completely remove iDynamics from the environment, two steps must be performed: Uninstall and Unpublish.
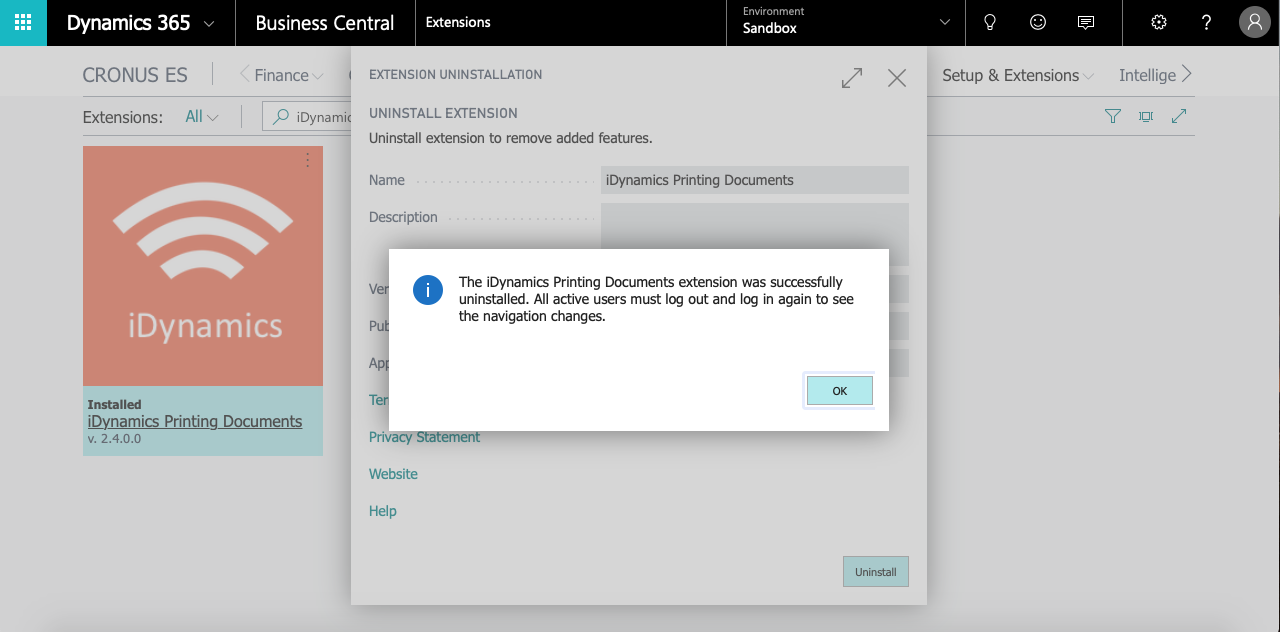
Uninstall
Desactivates objects so that they are no longer available for use through Microsoft Dynamics 365 Business Central. The uninstallation is carried out from "Setup & Extensions - Extensions", by clicking on the "Uninstall" button in the list of application options.
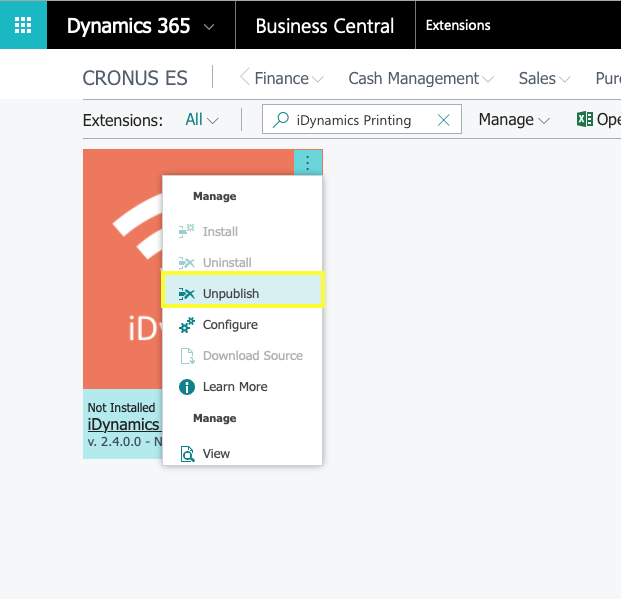
Unpublish
Removes objects from the database. Previously it is necessary to have uninstalled the extension. In the same way, by clicking on the three dots that appear in the upper right part of the extension, we will click on the unpublish option that appears in the drop-down menu. In this way it will disappear from the list of extensions.
For instance:
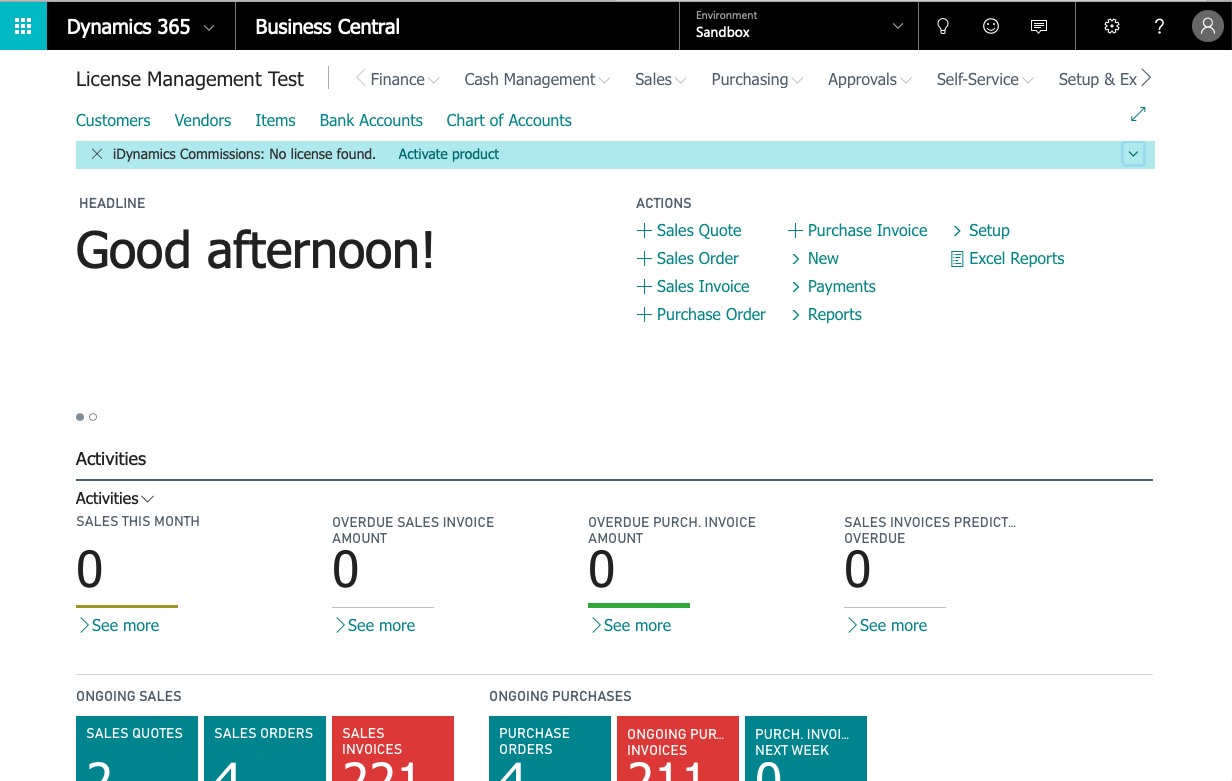
iDynamics Activation
By accesing Microsoft Dynamics 365 Business Central for the first time, we are allowed to apply for a temporary evaluation license or activate a subscription to use the app.
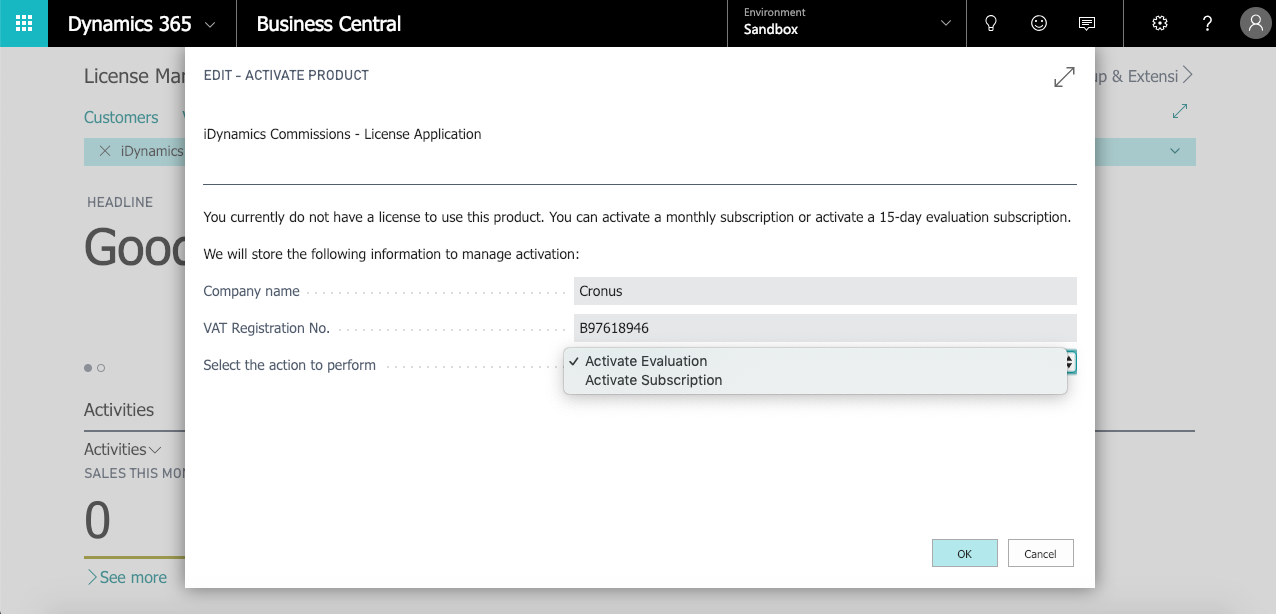
At the end of the evaluation period, we will be prompted to activate a subscription usage.