Connect to Business Central Online
Access Credentials
Once you have started the setup wizard and selected that you want to connect to an online environment, the first step is to enter the credentials of a user with access to Business Central.
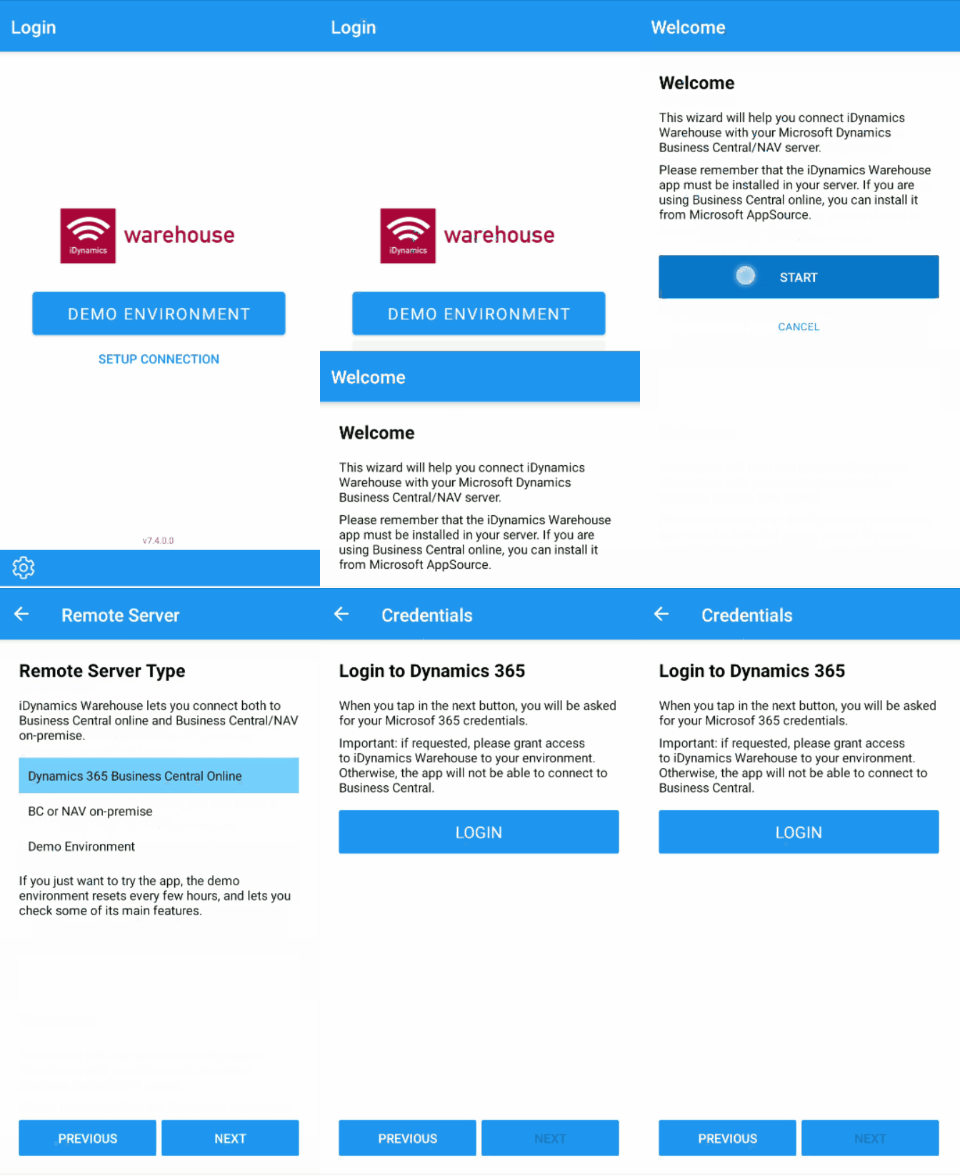
When you click on the Connect button, you will be presented with a login screen in which to enter your credentials, just like when you connect to Business Central from a new computer. The only different detail, and one to note, is that once you have validated, if it is the first time you are using the application, you will be asked to confirm that you want to allow the iDynamics Warehouse application to connect to your Business Central.
If you are a user with permissions to do so in the Azure directory, you may be asked if you want to confirm this access for all users. Checking this option will indicate that the organization allows the iDynamics Warehouse application to access Business Central, and will bypass the confirmation for all users connecting to it.
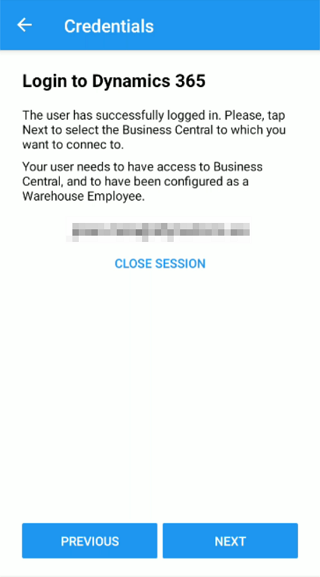
Select a Server Instance
Once logged in, you will be shown the list of Business Central instances to which your user has access. Select the one you wish to connect to.
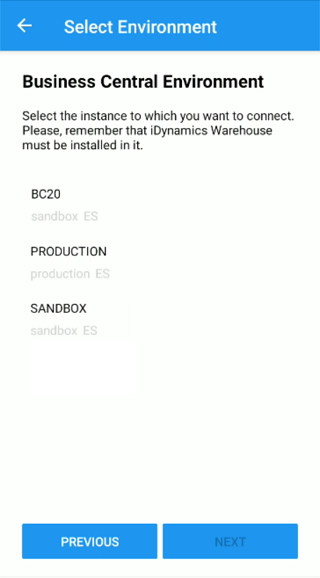
Remember that the iDynamics Warehouse application will need to have been installed on the instance you select, and that your user will need to have a warehouse assigned to it. Refer to the first steps guide, if you have not already done so.
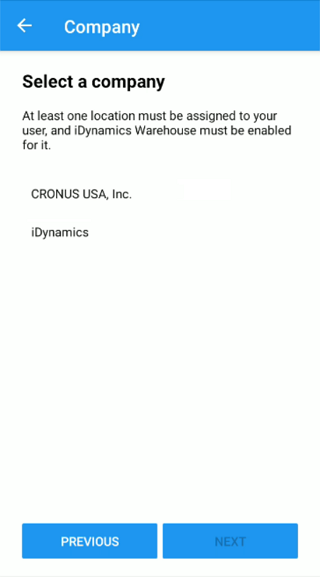
Select the Company You Want to Connect to
Once the wizard is finished, the application will allow you to change the company directly from the home screen. Selecting a company at this point, however, allows us to connect to the server and verify that the user configuration is correct and that you will be able to connect without any problems.
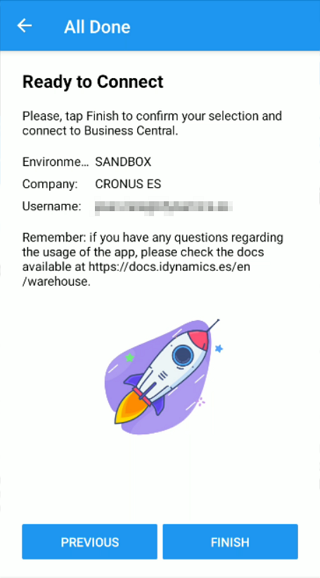
All Set
If you have reached this point, the application is ready to connect to your server. Click on Finish to return to the login screen and start using the application.
