Getting Started
Overview
iDynamics Advanced Warehouse allows working with pallets in both single-product and multi-product scenarios, expedition boxes, and advanced packings as its main features.
This brief getting started guide aims to serve as an introduction to the most basic functionality and assist in configuring and launching the application. Our recommendation is to follow the steps in this guide to become familiar with the product, without clicking on any of the links that will appear throughout the text. Once you have completed a tour of the product and have seen the general concepts, you can revisit the guide by clicking on the various links to learn about the complete functionality of the product and the available configuration details.
Welcome
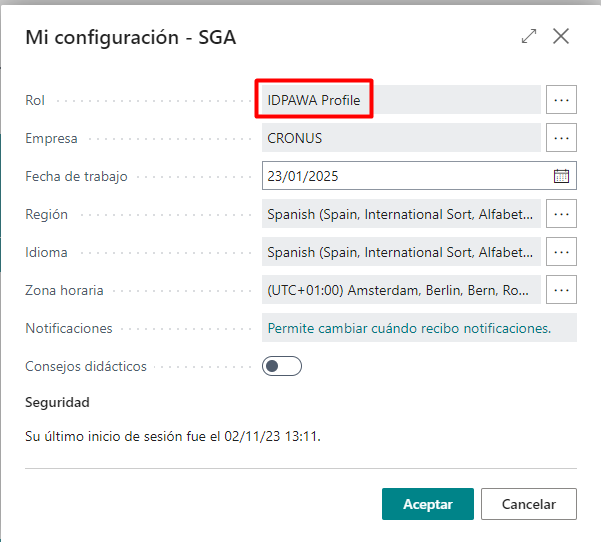
Once iDynamics Advanced Warehouse is installed, you should use the IDPAWA Profile role for employees using the PDA.

User Login
Upon entering the iDynamics Advanced Warehouse application from an Android/Windows/IOS device, it will request the employee code and a password. It is important that each time a new operator is about to perform operations with the PDA, they ensure they have logged in so that the readings they make are assigned to their user:

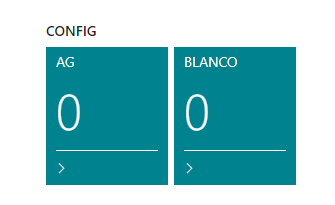
In the role center, we have an activity that allows us to change the user and another to change the working warehouse:

Keyboard and Camera
iDynamics Advanced Warehouse allows entering data in various ways. The most efficient method is to scan the barcode using a device with a built-in scanner. All fields on any screen of the product have a button with an image of a keyboard to open the application's own keyboard.

Another option is to use the native keyboard of the Android/iOS device, which will open by default when receiving focus.
If you want to use the device's camera to read a barcode, for example, from a mobile without a scanner, click the ON/OFF button to show or hide the camera:

The ON/OFF buttons open the device's camera to read a barcode using the device's camera itself.

To use the camera, access via HTTPS with an SSL certificate is required. It will ask us to confirm permission to access the camera.
It is recommended to use devices with an integrated barcode reader for greater efficiency in readings.
The formats recognized by this integrated camera are as follows:
| QR Code |
|---|
| AZTEC |
| CODE_39 |
| CODE_93 |
| CODE_128 |
| ITF |
| EAN_13 |
| EAN_8 |
| PDF_417 |
| UPC_A |
| UPC_E |
| DATA_MATRIX |
| MAXICODE* |
| RSS_14* |
| RSS_EXPANDED* |
Role Center
If you have entered the user and password correctly, the Role Center will open with all the available options for that operator.
You can review the basic installation process, for example, to grant permission to employees for the actions we want them to access.
Next Steps
We hope this document has served as an introduction to the basic concepts of the product. We have barely reviewed the main options of the product, but with them, you could already start configuring and using an advanced warehouse in Business Central very easily. Depending on your needs, we recommend that you:
- Review the basic installation process of the application.
- Check the general configuration options of the application.
- Review the options in the role center of the application.
It is recommended to perform initial product tests using an Essential or Premium user for simplicity and to become familiar with the application. Once the program is up and running, and we are working normally, we can activate the web service so that Team Member users can make records. To do this, access the webService configuration of the application.
And remember, this is just the beginning. We recommend that you start gradually configuring the basic warehouse options and from there, discover all the functionalities and options that the program offers. Do not forget to visit our changelog from time to time to discover all the new features we are adding to the application.
Finally, if you need help or have any questions that we have not answered in this manual, please do not hesitate to contact us.